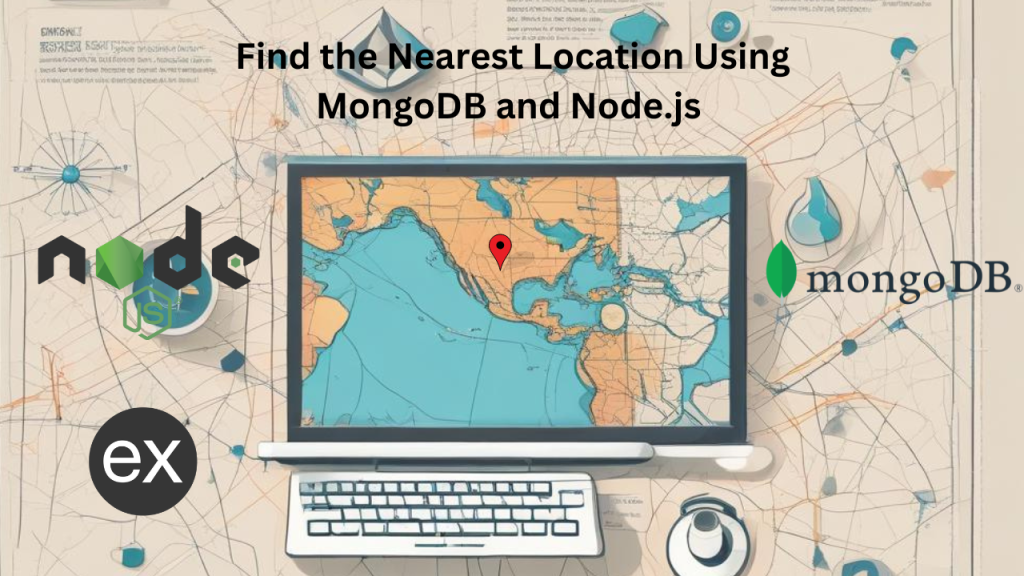
Suppose we’re developing a web application with Node.js and we need to incorporate location-based features, such as finding the nearest shop, restaurant, or service. In that case, MongoDB’s geospatial queries can be a real game-changer. In this blog post, We’ll walk through the basics of setting up and executing geospatial queries with MongoDB and Node.js, using straightforward language that anyone can understand.
What You Need Before You Start
Before diving into the code, make sure you have the following:
- Node.js installed on your computer. You can download it from nodejs.org.
- MongoDB running on your server. If you don’t have MongoDB installed, visit mongodb.com to get it set up.
Step 1: Setting Up Our Project
First, create a new directory for our project and navigate into it:
mkdir my-location-app
cd my-location-app
Now, initialize a new Node.js project:
npm init -yWe will also need to install few NPM packages:
npm install express mongoose- Express is a web framework for Node.js.
- Mongoose is a MongoDB object modeling tool designed to work in an asynchronous environment.
Step 2: Connect to MongoDB Using Mongoose
Create a new file called app.js and set up a simple server and MongoDB connection:
const express = require('express');
const mongoose = require('mongoose');

const app = express();
const PORT = process.env.PORT || 3000;

mongoose.connect('your_mongodb_connection_string')
  .then(() => console.log('MongoDB connected'))
  .catch(err => console.error('Could not connect to MongoDB', err));

app.listen(PORT, () => {
  console.log(`Server running on port ${PORT}`);
});
Replace 'your_mongodb_connection_string' with your actual MongoDB connection string.
Step 3: Define a Model with Geospatial Data
In MongoDB, we can store geospatial data using the GeoJSON format. Add a new model to our app.js:
const LocationSchema = new mongoose.Schema({
  name: String,
  location: {
    type: { type: String, enum: ['Point'], required: true },
    coordinates: { type: [Number], required: true }
  }
});

LocationSchema.index({ location: '2dsphere' });

const Location = mongoose.model('Location', LocationSchema);
Step 4: Creating a Route to Find the Nearest Location
Now, let’s add a route to our application that will find the nearest location based on user-provided coordinates:
app.get('/nearest', (req, res) => {
  const { lat, lng } = req.query;

  Location.find({
    location: {
      $near: {
        $geometry: {
          type: "Point",
          coordinates: [parseFloat(lng), parseFloat(lat)]
        },
        $maxDistance: 5000  // 5 kilometers
      }
    }
  })
  .then(locations => res.send(locations))
  .catch(err => res.status(500).send("Error finding locations"));
});
Step 5: Prepare Sample Data
First, we’ll create some example locations. These locations can represent anything like cafes, stores, or any point of interest. Let’s say we want to add a few coffee shops in a city. Here’s the sample data in GeoJSON format, which MongoDB uses for storing geospatial information:
const sampleLocations = [
  {
    name: "Coffee Central",
    location: {
      type: "Point",
      coordinates: [-122.403694, 37.790841] // Longitude, Latitude
    }
  },
  {
    name: "Bean Bar",
    location: {
      type: "Point",
      coordinates: [-122.409915, 37.785365] // Longitude, Latitude
    }
  },
  {
    name: "Java Jive",
    location: {
      type: "Point",
      coordinates: [-122.410297, 37.782039] // Longitude, Latitude
    }
  }
];

// This function inserts sample data into the database
function insertSampleData() {
  Location.insertMany(sampleLocations)
    .then(() => console.log("Data inserted successfully!"))
    .catch(err => console.error("Failed to insert data", err));
}

// Call the function to insert data
insertSampleData();
Step 6: Testing Our Application
now that our database has some test data, we can use the /nearest endpoint to find the nearest coffee shop to a specific location. For example, let’s find the nearest coffee shop to a point with latitude 37.787601 and longitude -122.407224.
We can make a request using a tool like Postman, or by simply navigating to the following URL in our browser:
http://localhost:3000/nearest?lat=37.787601&lng=-122.407224Step 7: Understanding the Output
The server should respond with JSON data about the nearest coffee shops based on our query parameters. The response might look something like this (assuming our example data):
[
  {
    "_id": "5f3e97531c9d440000a1b6bc",
    "name": "Bean Bar",
    "location": {
      "type": "Point",
      "coordinates": [-122.409915, 37.785365]
    }
  }
]
This output indicates that “Bean Bar” is the closest coffee shop to the specified coordinates.
By following these steps, we can effectively test the geolocation features of our application, ensuring that it correctly identifies and returns the nearest points of interest based on our location data.
Conclusion
With just a few lines of code, we’ve set up a basic Node.js application that can find the nearest location using MongoDB’s powerful geospatial queries. This feature can enhance the functionality of many types of applications by providing relevant local information to users.
Remember, the possibilities are endless with MongoDB and Node.js, so keep experimenting and learning more about these powerful tools!